How to Fix Popping Drills in Diamond Painting – Easy Solutions
Share
Diamond painting is a soothing and fulfilling hobby, but it can turn frustrating in an instant when popping drills destroy your work of art. If you've ever had the frustration of dealing with drills that won't hold, don't worry!
To avoid this frustration, let’s discuss the reasons behind popping drills and provide simple solutions to ensure your artwork is smooth and secure.
Discover the Magic of Diamond Painting Art
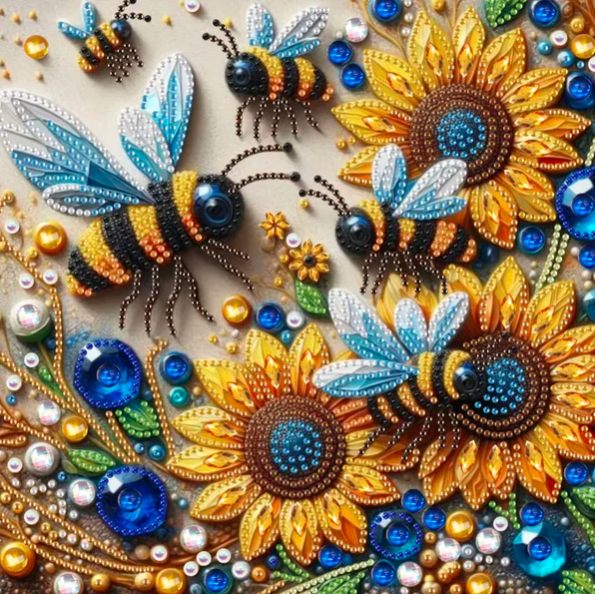
Diamond Painting Art is a creative and enjoyable method of creating beautiful, glittering masterpieces with minimal effort. Whether you're just starting out or an artist, our quality diamond painting kits contain everything you'll need to produce dazzling masterpieces. High-quality kits contain top-quality drills, a sticky canvas, and all the supplies you'll need to create your artwork.
What Are Popping Drills?
Popping drills are diamond painting drills (small pieces of resin) that will not adhere suitably to the canvas, leading to shifting or becoming raised over time. Popping drills may be due to various reasons, including inconsistent adhesive, overfilled gaps, or low-quality drills. Resolving this problem guarantees an impeccable finish and effortless crafting experience.
Causes of Popping Drills
Knowing why drills pop is half the battle in preventing and repairing it. Here are the most typical causes:
1. Inconsistent Adhesive on Canvas
When your glue on canvas is not properly applied or has become sticky-free, drills won't be able to stick. This will cause them to move around and result in a sloppy finish.
2. Overfilled Spaces
Some diamond paintings feature drills placed too close together, resulting in drills pressing against one another and popping out. This occurs when the drills don't have sufficient space to fit snugly.
3. Static Electricity
Static can make drills stick together or push away from the canvas, making placement difficult. This is particularly prevalent in dry climates or with plastic tools.
4. Low-Quality Drills
Affordable or substandard drills also have irregular sizes or irregular edges that can make it challenging for them to easily fit on the canvas. Good-quality drills match better and minimize popping risks.
5. Environmental Factors
Working in extreme temperatures and humidity levels can compromise the effectiveness of the glue, causing drills to pop. When the adhesive is weak, drills won't hold as well.
Easy Solutions to Fix Popping Drills
Now that you know the reasons, let's get on to some easy and effective solutions.
1. Press the Drills Firmly
Press your finished work with a rolling pin or even a hard, flat object. This way all drills are firmly in position and well attached to the canvas.
2. Check for Overcrowding
If you see drills piling up against one another, attempt to shift their position slightly with the help of tweezers. Providing them with a little extra room can keep them from springing up.
3. Utilize a More Powerful Adhesive
In case the canvas glue has become less sticky, use a clear craft adhesive or double-sided tape to the involved areas. Allow it to dry marginally before replacing the drills to their proper position.
4. Fight Static Electricity
To cut down on static, put your drills in a small container and include a dryer sheet or a very small amount of baby powder. Shake gently to dissipate static cling prior to using the drills with your artwork.
5. Substitute Low-Quality Drills
In case some drills do not fit properly, replace them with better-quality ones. Purchasing from established suppliers guarantees a uniform size and shape, minimizing the likelihood of popping.
6. Apply a Sealer for Long Term Protection
Finally, after finishing your diamond painting, use a clear acrylic sealer or a brush-on Mod Podge to fix the drills permanently. Doing so ensures your artwork remains as it is with time.
7. Store and Handle with Care
Proper storage can also avoid popping drills. In between working on your painting, cover the canvas with a plastic sheet and place it in a flat, dry area. Avoid bending or rolling the canvas too much.
8. Work in a Comfortable Environment
Make sure you work in a setting with moderate temperature and humidity. Excessive moisture can weaken the adhesive, while excessive dryness can lead to static charges.
Conclusion
Popping drills can be annoying, but with these simple solutions, you can have a smooth and trouble-free diamond painting experience. Whether you're creating a beautiful rhinestone canvas art piece or a brilliant 5D Diamond Painting, correct techniques will keep your masterpiece intact for years to come. By pressing your drills tightly, looking for overcrowding, employing stronger adhesives, and varnishing your artwork, you can bid adieu to popping drills and welcome a stunningly finished piece!
Now, let's apply these tips and finish your next diamond painting project confidently! If you want high-quality diamond painting kits that reduce problems such as popping drills, contact us. At Diamond Painting Bling Art, we offer premium quality diamond painting kits at affordable prices. It’s time to say goodbye to your regular painting kit- and choose premium quality diamond painting kits- Visit Now!