OUR STORY
A Journey of Peace and Purpose Through Art
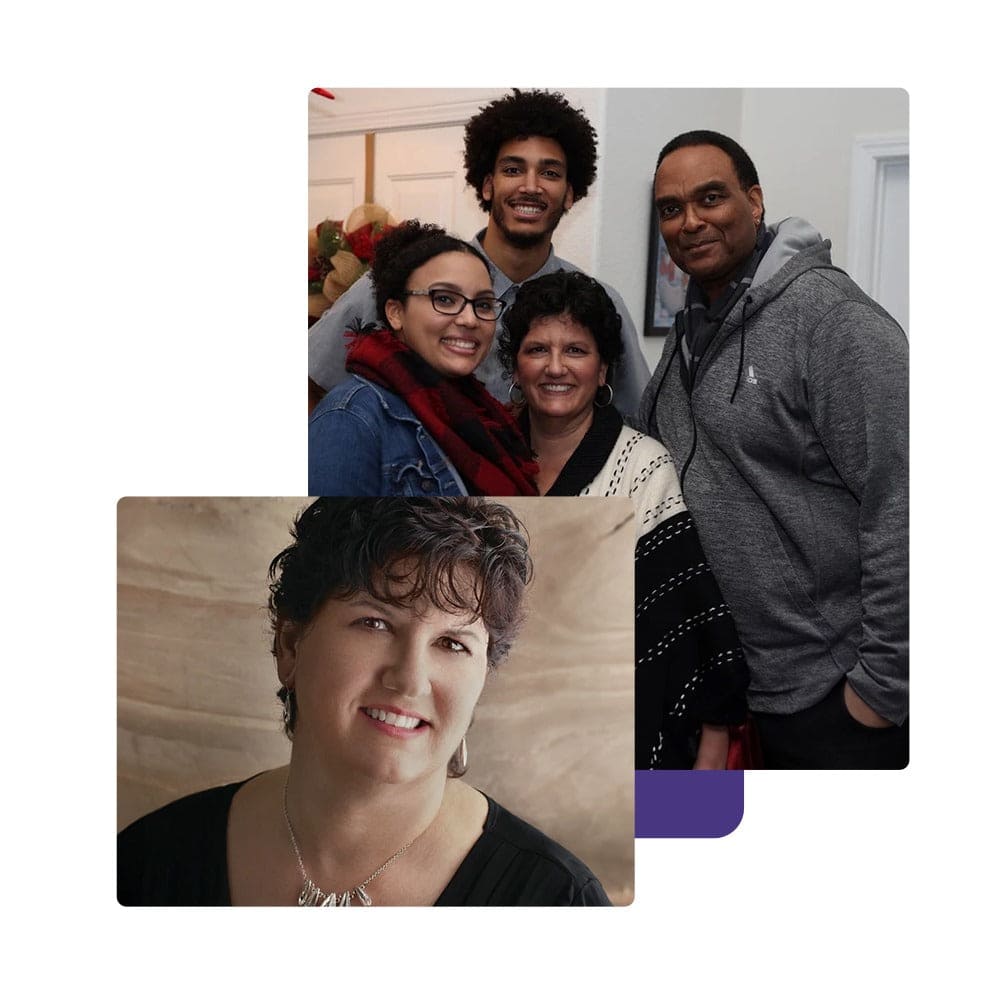
Hello! My name is Carole, the Owner.
Creativity has always been a huge part of my life. I started this journey to share the love of art and craftsmanship with others. My mission is to help people find peace, joy, and mindfulness through creativity
Read More